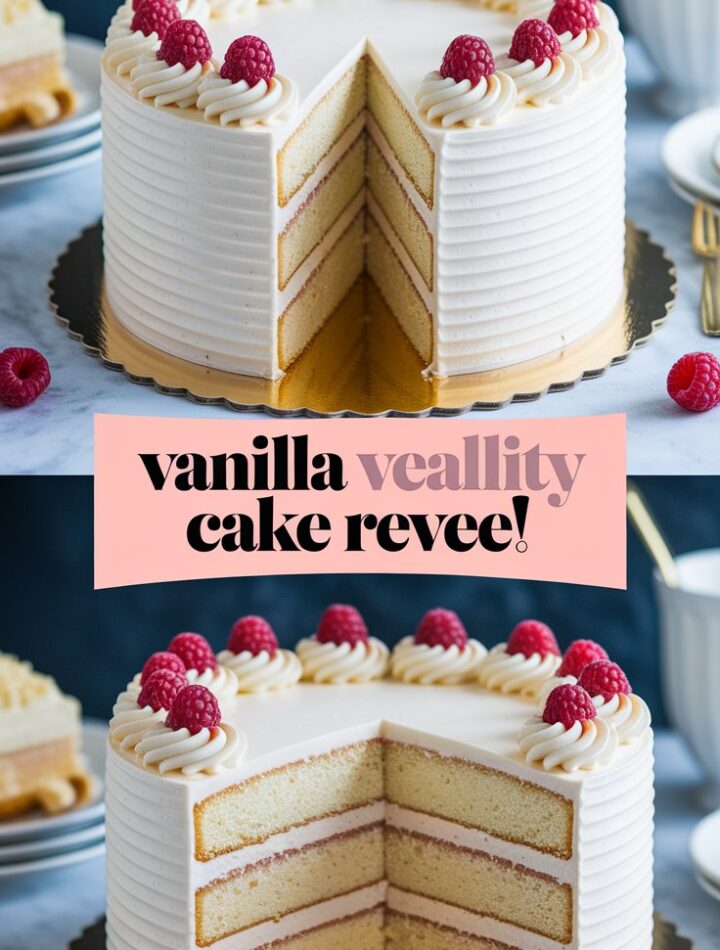
Vanilla cake is one of the most timeless desserts in the world—simple yet elegant, comforting yet sophisticated, and always welcome at birthdays, gatherings, celebrations, and everyday moments. But not all vanilla cakes are created equal. Some are too dense, some turn dry after cooling, and others lack that memorable flavor that keeps you coming back for another slice. That is where the Vanilla Velvet Cake stands out.
Soft, tender, moist, and beautifully light, this cake lives up to the name “velvet.” Its luxurious texture, rich vanilla aroma, and perfectly balanced crumb make it a dessert that feels bakery-quality but is completely achievable at home. This recipe takes the classic vanilla cake and elevates it with tried-and-tested baking techniques, smart ingredient choices, and flavor boosters that give it a signature velvety finish.
In this complete guide, you’ll learn everything—from the science behind vanilla velvet cake, to expert baking techniques, to variations, storage, troubleshooting, and professional decorating tips. Whether you’re a beginner baker or someone who’s been baking for years, this in-depth article will help you achieve a flawless vanilla velvet cake every single time.
⭐ What Makes Vanilla Velvet Cake Special?
A velvet-style cake is defined by its smooth, fine, soft crumb—a texture that is noticeably different from basic vanilla sponge or pound cake. Several elements combine to create this uniquely velvety feel:
1. A Precise Balance of Fats
This cake uses:
- Butter for flavor
- Vegetable oil for moistness
- Sour cream or buttermilk for tenderness
This combination ensures the cake stays moist for days—not just the day you bake it.
2. Acid + Leavening Reaction
Buttermilk or sour cream reacts with baking soda to create small, delicate air bubbles, which give the cake a:
- fluffy
- light
- airy
texture.
3. Pure Vanilla Flavor
Using high-quality vanilla extract, paste, or even vanilla beans enhances the cake’s aroma and flavor, transforming a simple vanilla cake into something extraordinary.
4. The Perfect Mixing Method
Creaming the butter and sugar properly ensures the cake rises evenly and bakes soft rather than dense. This step is crucial and contributes significantly to the “velvet” quality.
⭐ Ingredients You’ll Need (With Expert Notes)
Dry Ingredients
All-Purpose Flour (2 ½ cups)
Provides structure. Cake flour can be substituted for an even softer crumb.
Baking Powder (2 ½ teaspoons)
Helps the cake rise beautifully without creating a coarse structure.
Baking Soda (½ teaspoon)
Works with acidic ingredients to lighten the texture.
Salt (¼–½ teaspoon)
Balances sweetness and deepens flavor.
Wet Ingredients
Unsalted Butter (½–1 cup, softened)
Essential for flavor, richness, and structure.
Granulated Sugar (1 ½ cups)
Adds sweetness and helps incorporate air during creaming.
Vegetable Oil (¼ cup)
Keeps the cake soft and moist even after refrigeration.
Eggs (4 large, room temperature)
Bind ingredients and contribute to texture.
Vanilla Extract (1 tablespoon)
Use pure vanilla for best results. Vanilla bean paste also works beautifully.
Buttermilk (1 cup, room temperature)
Creates a tender crumb and boosts rise.
Sour Cream (¼–½ cup)
Adds moisture and a subtle tang that enhances flavor.
⭐ Step-by-Step Instructions (Expert Method)
1. Prepare Your Baking Pans
- Preheat oven to 350°F (175°C).
- Grease and flour two 9-inch pans or line them with parchment rounds.
This prevents sticking and ensures easy release.
2. Mix the Dry Ingredients
Whisk together:
- flour
- baking powder
- baking soda
- salt
Dry ingredients must be sifted or whisked to avoid clumping.
3. Cream the Butter and Sugar
Beat softened butter and sugar for 3–5 minutes until:
- pale
- fluffy
- lighter in volume
This step incorporates air, helping the cake rise with a soft structure.
4. Add Eggs One at a Time
Mix well between each addition.
This step prevents curdling and ensures a smooth batter.
5. Add Vanilla Extract
This is where your cake begins to build its signature aroma.
6. Alternate Wet and Dry Ingredients
Add dry ingredients and buttermilk in this order:
- dry
- wet
- dry
- wet
- dry
This keeps the batter stable and prevents overmixing.
7. Add Sour Cream and Oil
Fold gently until the batter becomes smooth and silky.
8. Bake
Divide batter evenly between pans.
Bake 25–30 minutes, or until a toothpick comes out clean.
9. Cool and Frost
Let the cakes cool:
- 10 minutes in the pan
- fully on a wire rack
Frost only when completely cooled.
⭐ Best Frostings for Vanilla Velvet Cake
1. Classic Vanilla Buttercream
Smooth, creamy, and pairs perfectly with the cake’s delicate flavor.
2. Cream Cheese Frosting
Adds tanginess—ideal for balancing sweetness.
3. Whipped Vanilla Mascarpone
A light, airy option for a more elegant finish.
4. White Chocolate Buttercream
Rich and luxurious for celebrations.
⭐ Flavor Variations
1. Almond Velvet Cake
Add ½ teaspoon almond extract.
2. Lemon Velvet Cake
Add lemon zest + 1 tablespoon lemon juice.
3. Berry Velvet Cake
Add fresh raspberries or strawberry compote between layers.
4. Coconut Velvet Cake
Add shredded coconut + coconut extract.
5. Chocolate Velvet Cake
Replace ½ cup flour with cocoa powder.
6. Funfetti Velvet Cake
Add colorful sprinkles to the batter.
⭐ Pro Tips to Make the Perfect Velvet Cake
1. Use Room Temperature Ingredients
Ensures the batter mixes smoothly and rises evenly.
2. Don’t Overmix
Mix just until combined—overmixing creates a dense cake.
3. Use High-Quality Vanilla
It dramatically improves flavor.
4. Weigh Your Ingredients
For precise, bakery-style results.
5. Use Light-Colored Pans
Dark pans brown faster and can cause dryness.
⭐ Troubleshooting Guide (Expert Solutions)
Cake is dense
- Butter was not creamed long enough
- Overmixing
- Old baking powder
Cake is dry
- Overbaked
- Too much flour
- Low fat content
Cake sinks in the center
- Oven door opened too soon
- Underbaked
- Too much leavening
Cake tastes eggy
- Used cold eggs
- Overmixed eggs
- Low vanilla quantity
⭐ How to Store Vanilla Velvet Cake
Room Temperature:
3 days in an airtight container.
Refrigerator:
Up to 1 week.
Freezer:
Up to 3 months (wrapped tightly).
How to Freeze Slices:
Wrap individually for easy thawing.
⭐ Frequently Asked Questions
1. Can I use regular milk instead of buttermilk?
Yes, but sour cream or milk + 1 tbsp vinegar improves texture.
2. Can I make this gluten-free?
Use a 1:1 gluten-free blend with xanthan gum.
3. Can I bake this as cupcakes?
Absolutely—bake 18–20 minutes.
4. Can I double this recipe?
Yes, but adjust pan size and baking time.
5. Why is my cake not fluffy?
Usually due to under-creamed butter or cold ingredients.
⭐ Conclusion
Vanilla Velvet Cake is more than just another vanilla cake—it is soft, luxurious, moist, and elegant. With its delicate crumb, rich vanilla flavor, and exceptional texture, it stands out at every celebration. This recipe ensures consistent, bakery-style results using simple ingredients and easy techniques. Whether you frost it with classic vanilla buttercream or dress it up with fruit fillings and modern designs, this cake will become a cherished favorite in your kitchen.